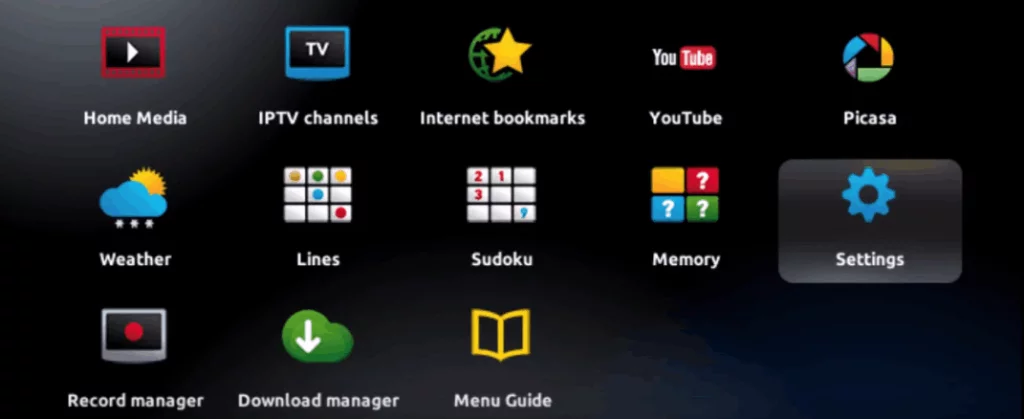
1: When the box is being loaded the main portal screen appears. After that click on “Settings”, press remote button “SETUP/SET”.
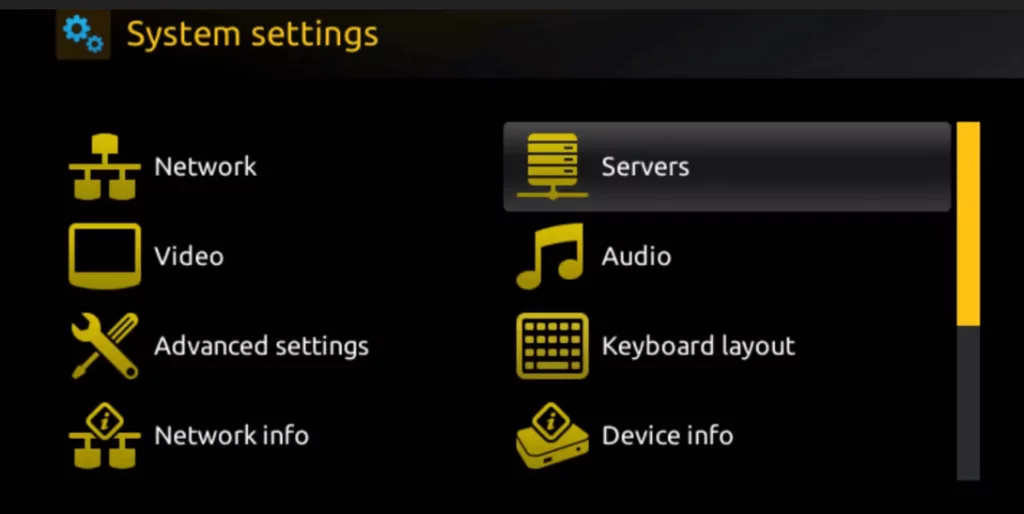
2: Then press on “System settings” and click on “Servers”.
3: Select “servers”.
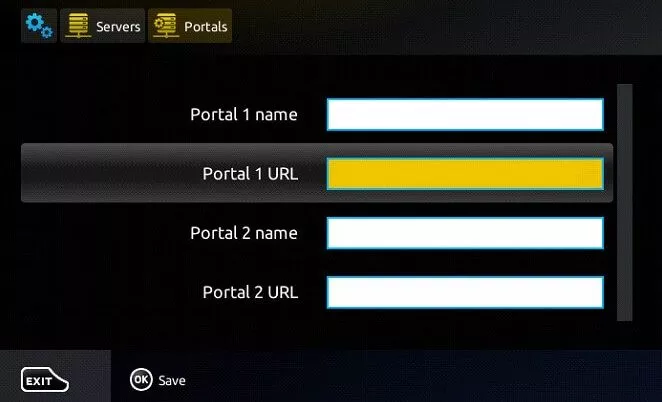
4: Over there, select the “Portals” option.
5: Within the Portal menu, you will be able to add or change the Portal URL. You can write any name in the Portal 1 box. For Portal 1 URL you need to enter the Portal address which you can gather from the provider from whom you purchased the service.
6: Save it. You can leave the Portal 2 name and URL field blank. In case you have multiple subscriptions to different IPTV servers, you can use Portal 2 name and URL field and with this option, you can choose between the two servers.
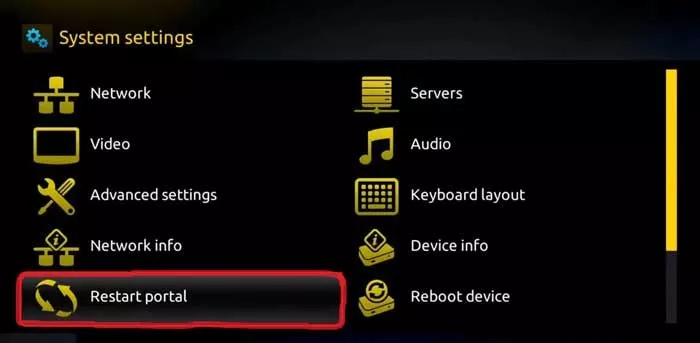
7: Now, go back to the System settings and click on the restart portal option.
Please feel free to contact us if you need anything.? Remember we are here 24/7.